
How I Painted my Legions Imperialis Blood Angels
Legions Imperialis is the newest incarnation of Games Workshop’s epic-scale miniatures rule sets. In a future post I’d like to expand more on the history of this game series, but to put it succinctly, this is the fifth edition, or incarnation, of a miniatures game that uses epic-scale (i.e. 6mm, or in this case 8mm) miniatures to create sweeping apocalyptic battles. Legions Imperialis is a return to the rules used in first-, and second-edition Space Marine, rather than an evolution of the rules after Epic: Armageddon.
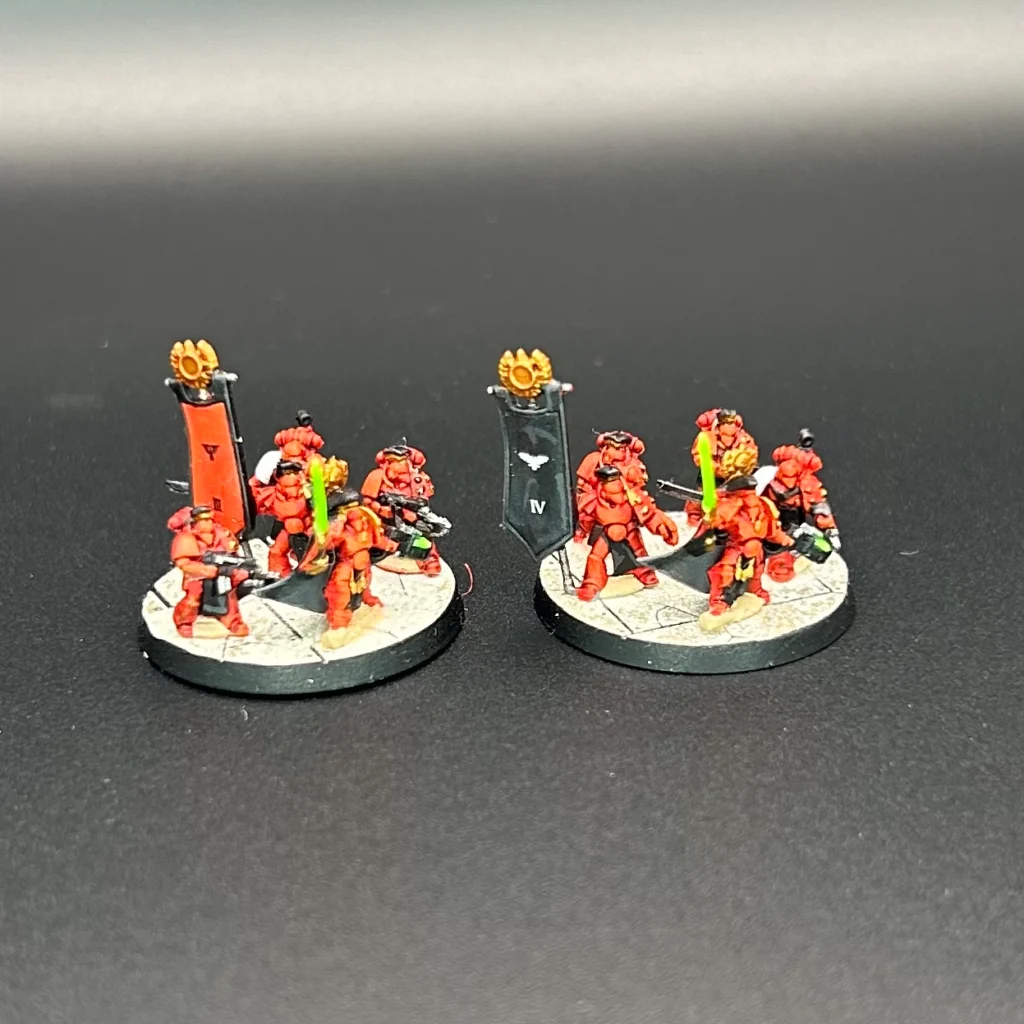
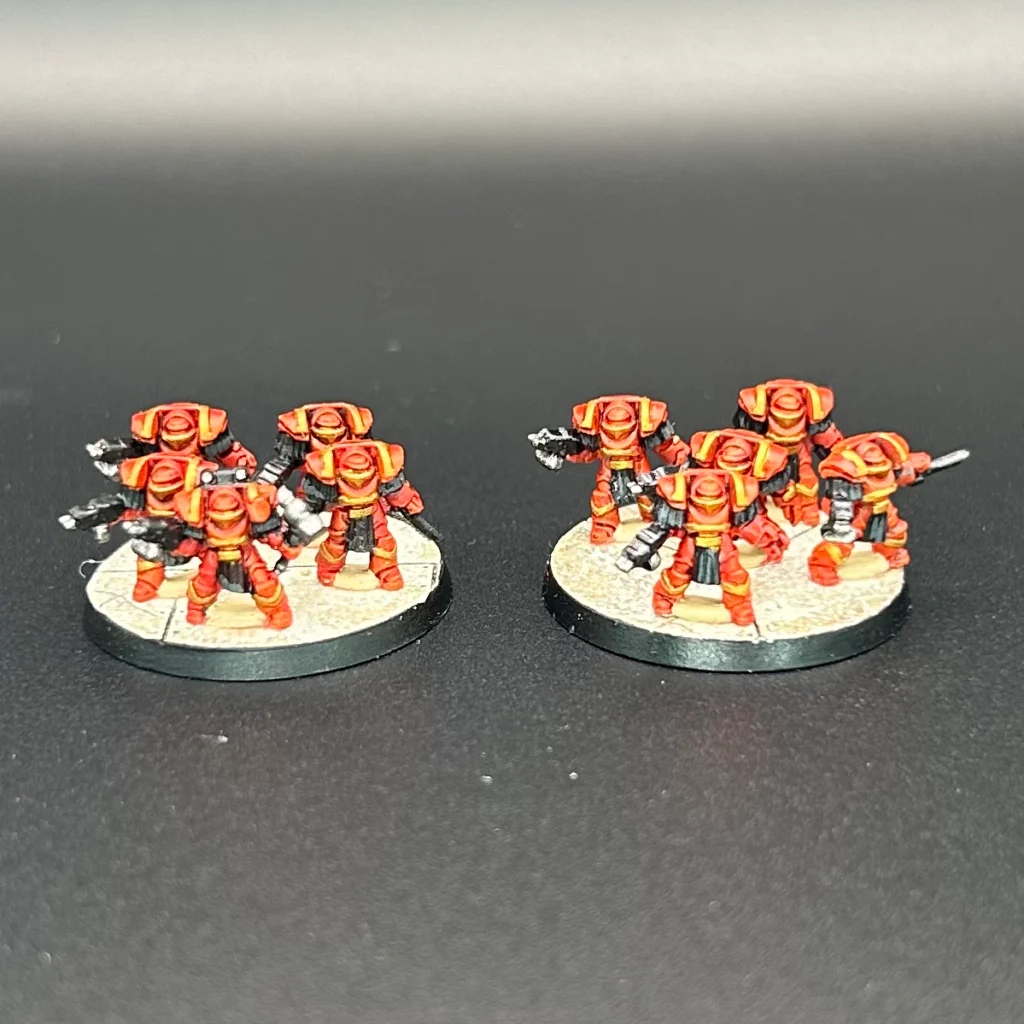
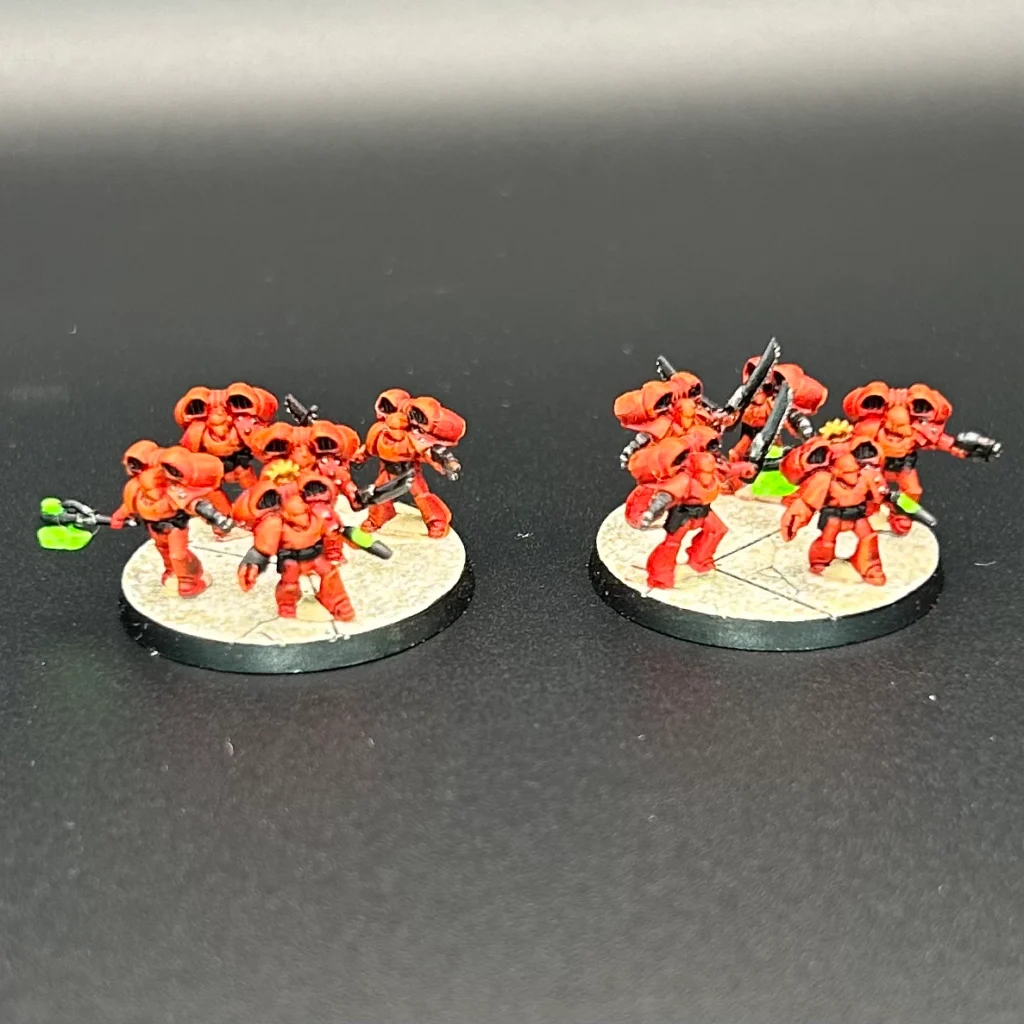
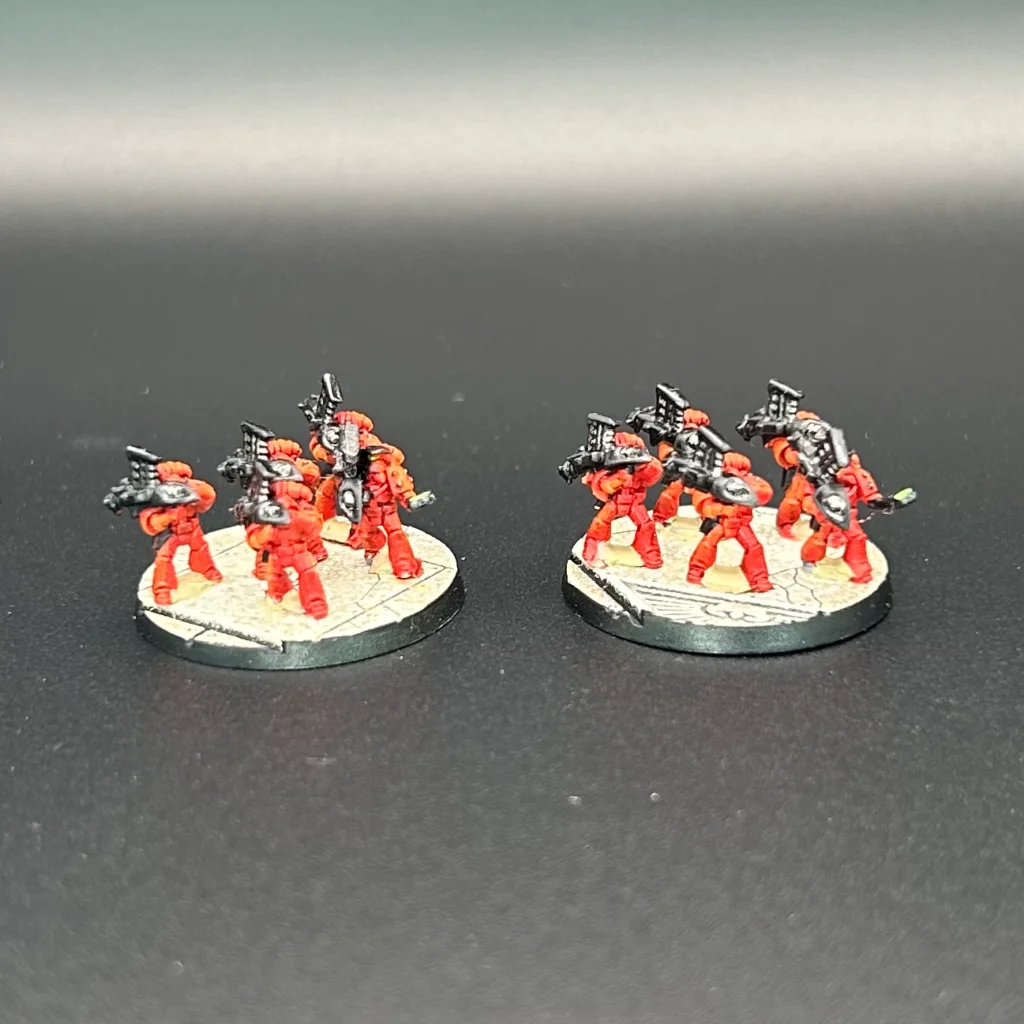
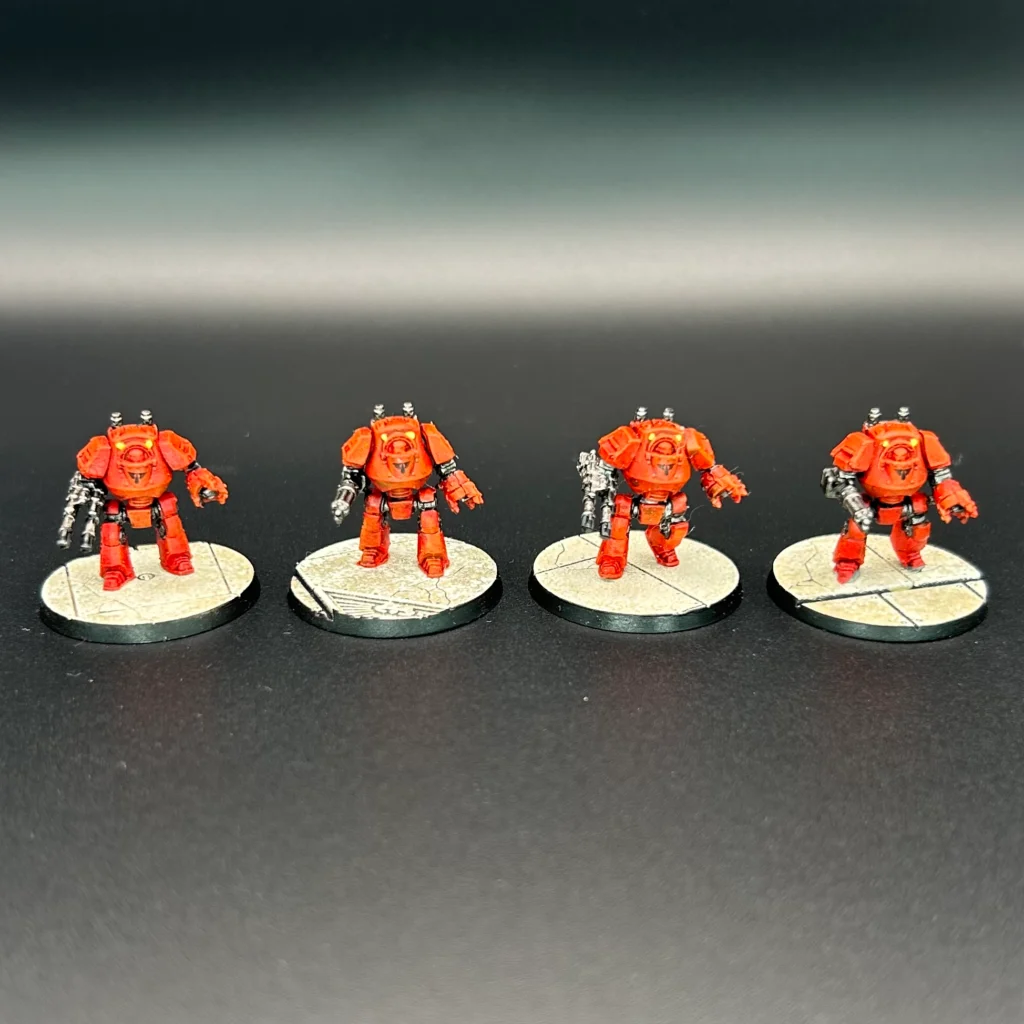
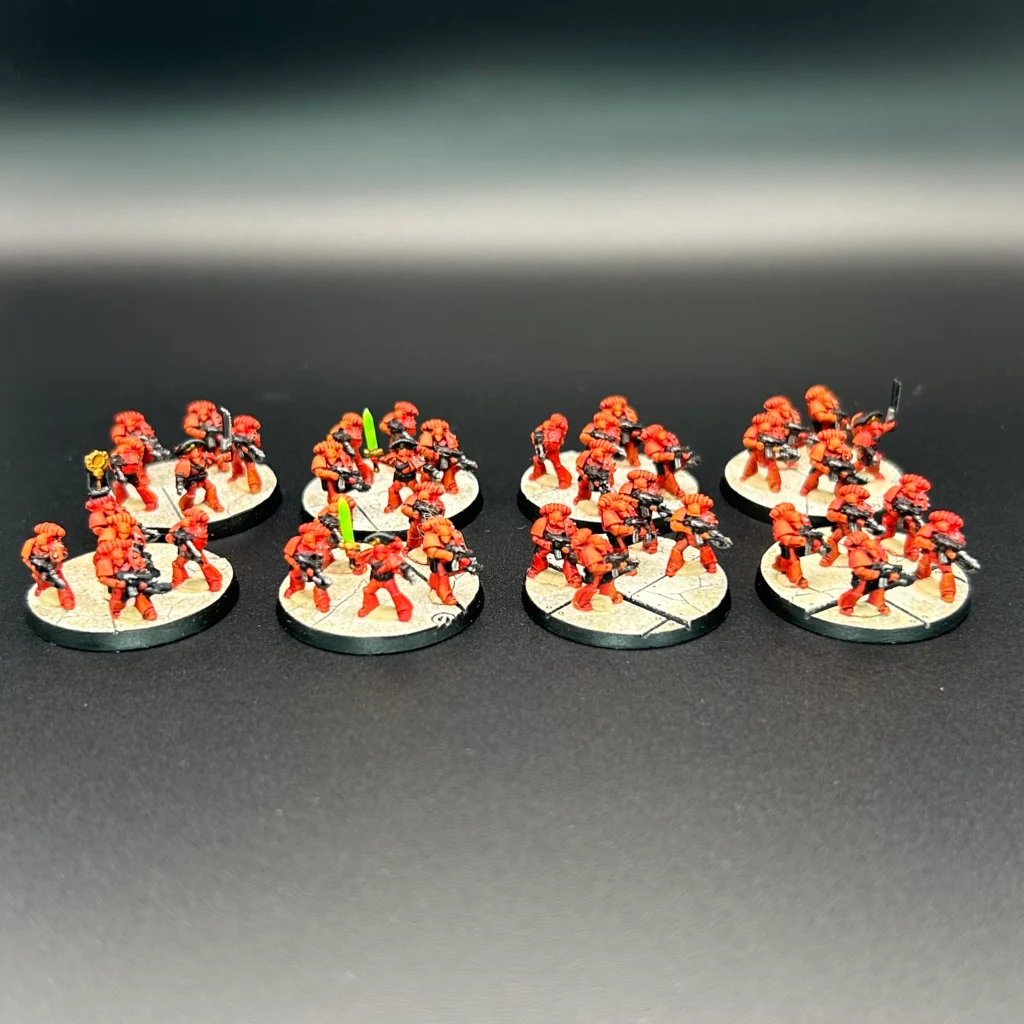
These models are fantastic, and paint up pretty quickly. The longest parts were blocking in the black, and touching up the red afterwards, but they were a real pleasure to paint, and I feel like I’m on my way to really having an epic army. Let me show them off to you:
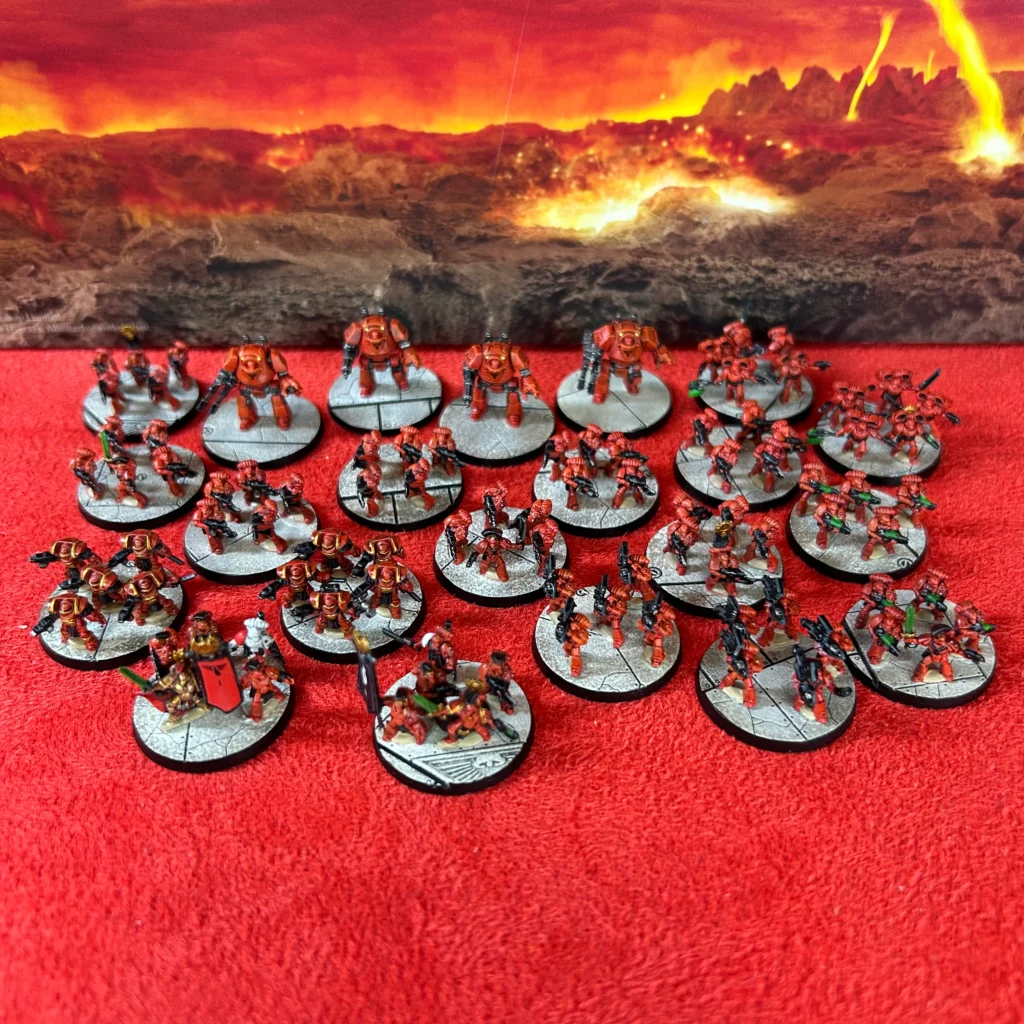

Here’s how I went about painting them (Note: I used an old ’90s hex-pot Citadel paint called Blood Red. It’s different than the Blood Reds that came before and after it. Close analogs are: Khador Red Base from P3, Demon Red from Two Thin Coats, Blood Red from Coat D’Arms, and Evil Sunz Scarlet from the current Citadel Colour. Most of these are as or slightly-less vibrant than ’90s Blood Red. The imitation Blood Red from Warcolours Nostalgia ’94 is slightly darker).
I painted the infantry on the sprue with the exception of the devastators, and any assault marine that had two connection points. These I glued to spare bases (25mm x 50mm) with PVA glue. The dreadnoughts were glued to spare 20mm square bases and painted once built.
- Paint the whole model Blood Red (Citadel—hex pot era)
- Wash the model with Carroburg Crimson (Citadel)*
- Drybrush the model with Blood Red (Citadel—hex pot era)
- Dryrbush the model with Angel Red (Coat D’Arms)
- Drybrush the model with Khador Red Highlight (P3)
- Paint all the areas you want black (guns, holsters, helmet crests, etc.) with Black Templar (Citadel)
- Highlight black areas with Dungeon Stone Grey (Two Thin Coats)
- Paint the areas you want metal with Pig Iron (P3)
- Wash the metal areas with Nuln Oil (Citadel)**
- Paint the areas you want gold Rhulic Gold (P3)
- Wash the gold areas with Reikland Fleshshade (Citadel)**
- Paint the plasma coils & power weapons Fluorescent Lime (Green Stuff World Fluor)
- Paint the lights on the dreadnoughts with Fluorescent Yellow (Green Stuff World Fluor)
- Touch up any mistakes on the red with Demon Red (Two Thin Coats)***
One apothecary model I painted fully white, which was simply Bold Titanium White (Pro Acryl), followed by a wash of Soulblight Grey (Citadel).
*I used the current formulation of Carroburg Crimson because it flows into the recesses better, and it let me work faster on such small models.
**When washing metals, I like using the gloss versions of these shades, which was the case with these two. You could just use the new formulation versions (though I haven’t yet), but I figure when I run out of these pots (which will be soon) I’ll switch to P3’s washes (Armor Wash and Flesh Wash, respectively).
***The reason I used Demon Red as opposed to the original Blood Red is because Blood Red doesn’t really have good pigment. Demon Red covered better, which allowed me to fix mistakes easier, and isn’t really noticeable at first glance. I just like the tomato-y red of Blood Red, which is why I didn’t just start with Demon Red.
So there you have it! Simple. For the bases, I followed the guide from Mediocre Hobbies, but used Gun Corps Brown, ‘Jack Bone, and Menoth White Highlight (all from P3) in that order with a sponge. I hope this gives you some inspiration, or at the very least makes approaching the painting of epic-scale space marines a little less daunting.
+++END TRANSMISSION+++
